Photography
While imagery is not necessarily more important than words, it is certainly more memorable. Photography plays a vital role in the Make-A-Wish brand as it is the catalyst for establishing the desired feel, telling a story and leaving a lasting impact.
In this Section:
OUR APPROACH
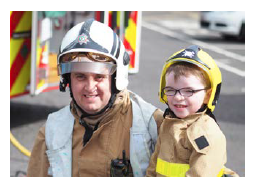
Photography allows us to capture moments in time throughout the course of the wish journey. Showing the wish experience and the others it includes is a crucial part of the Make-A-Wish brand. While wish kids are incredibly important to our storytelling, it’s important to show their interaction with others (i.e. medical professionals, family members, volunteers, donors, etc.), to reinforce the four messaging pillars.
Throughout the wish journey, we have the opportunity to capture the “humanity of the moment” – conveying a story of hope, strength and imagination. These are the pictures we strive to take and share with the world.
Back to the top of the page ↑
BASIC PHOTOGRAPHY SUGGESTIONS
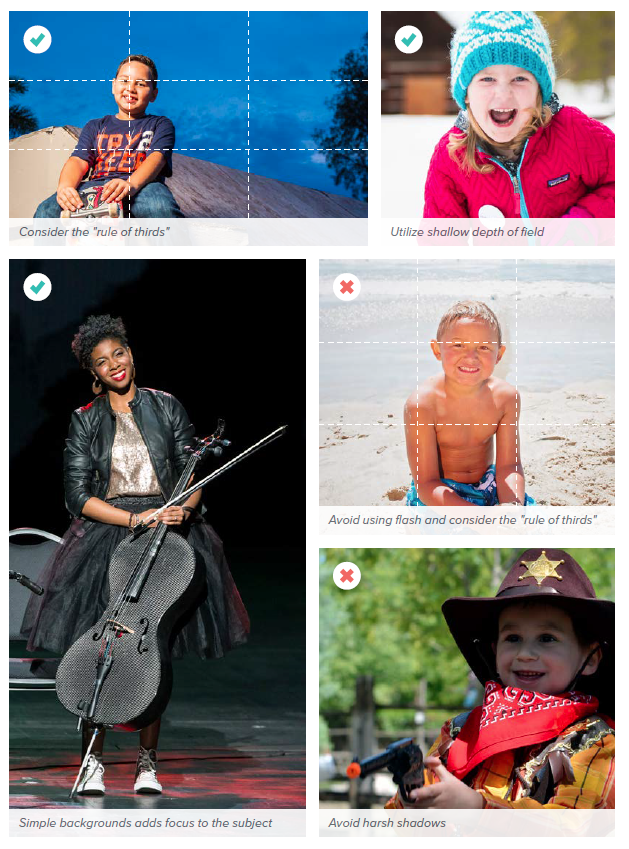
- Consider the “rule of thirds” guideline (framing the primary subject in the bottom-left or bottom-right quadrants) to prevent every picture from being centered (though sometimes it is appropriate and necessary).
- Use available light over a flash.
- Utilize a shallow depth of field (subject in sharp focus while background blurs or drops off) whenever ample amount of lighting (often outside) and distance (which can better separate the foreground and background) are available.
- Avoid shooting towards harsh light (such as the sun) as it creates dark shadows.
- Avoid colors or cluttered backgrounds that will detract from the subject.
Back to the top of the page ↑
SHOT LIST
While each wish experience will typically call for their own specific shots, the following is a general guideline for the typical imagery that is helpful to capture.
Wish kid shot
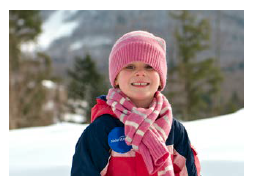
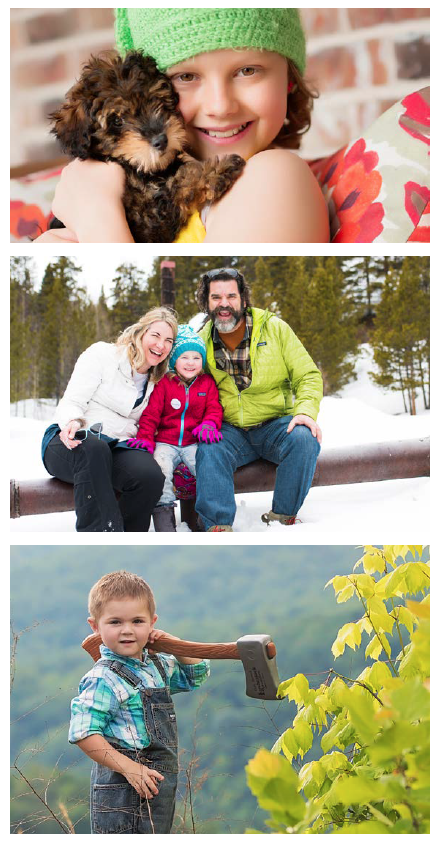
We want to consistently make sure that we capture the wish child in his or her environment alone.
Family shot
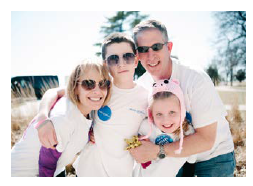
A wish is just as much for the supporting family as it is the child. We want to make sure that we are capturing moments with the family as appropriate.
Community shot
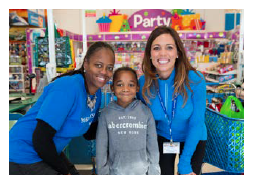
Every wish experience involves a team. We want to make sure that we celebrate our team and volunteers in the wish experience. While we prefer action or reaction shots of teammates, we minimally want to capture a group shot with the wish child.
Partner shot
When a partner is involved, we always want to make sure we appropriately recognize and document their part in a wish experience.
Back to the top of the page ↑
THE BEST MAKE-A-WISH PHOTOS...
|
|
Back to the top of the page ↑
HISTORICAL PHOTOS
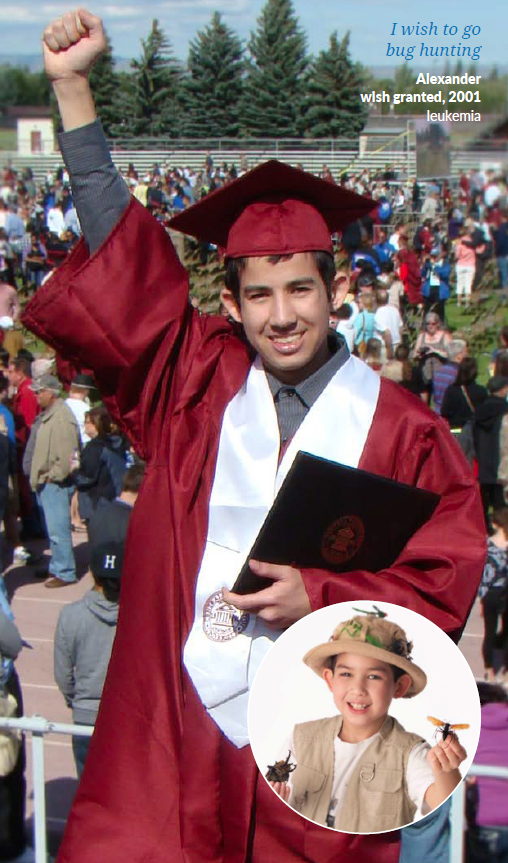
If a present-day photo of a wish child is shown alongside a reference to him/her at the time of their wish experience, the historical photo should always be secondary. This may also include scenarios where a grown wish child is seen holding a photograph of him/her as a young child, or two photos side by side.
These photos should always be accompanied by a wish identifier (page 74).
Back to the top of the page ↑
WISH IDENTIFIERS
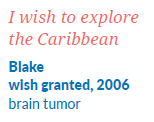
Wish kid identifiers are a strong and important brand element that signify to consumers that the photo or video of a child is associated with Make-A-Wish. They should accompany most photos and should be used in videos for single wish kids, when visually appropriate.
Wish: Droid Serif Italic. No punctuation mark should be used at the end. Should ideally be broken into two lines. Leading should be roughly 125% the type size (rounded up to the nearest point). Roughly 60% the point size of the wish should be left after the wish. In general, minimum size is 11pt for print and 30pt for web.
Name/Age: Lato Black. Name and age should be separated with a comma. Should be 80% the size of the wish (rounded up to the nearest point). Leading should be roughly 125% the type size (rounded up to the nearest point). In general, minimum size is 9pt for print and 24pt for web.
Illness: Lato Regular. See guidelines for illness capitalization on page 100. Should be 80% the size of the wish (rounded up to the nearest point). In general, minimum size is 9pt for print and 24pt for web.
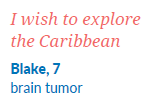
Note: If you are looking for a different way to identify wish kids well after their wish, use the following format:
Back to the top of the page ↑


